Few people know how to paint a bathroom ceiling. In fact, many people are afraid of painting ceilings because they think it’s difficult or they might make a mistake that will be hard to fix.
But with the right instructions, painting bathroom ceiling can be easy and even fun. In this article, we will give you all the information you need to know in order to paint your bathroom ceiling like a pro.
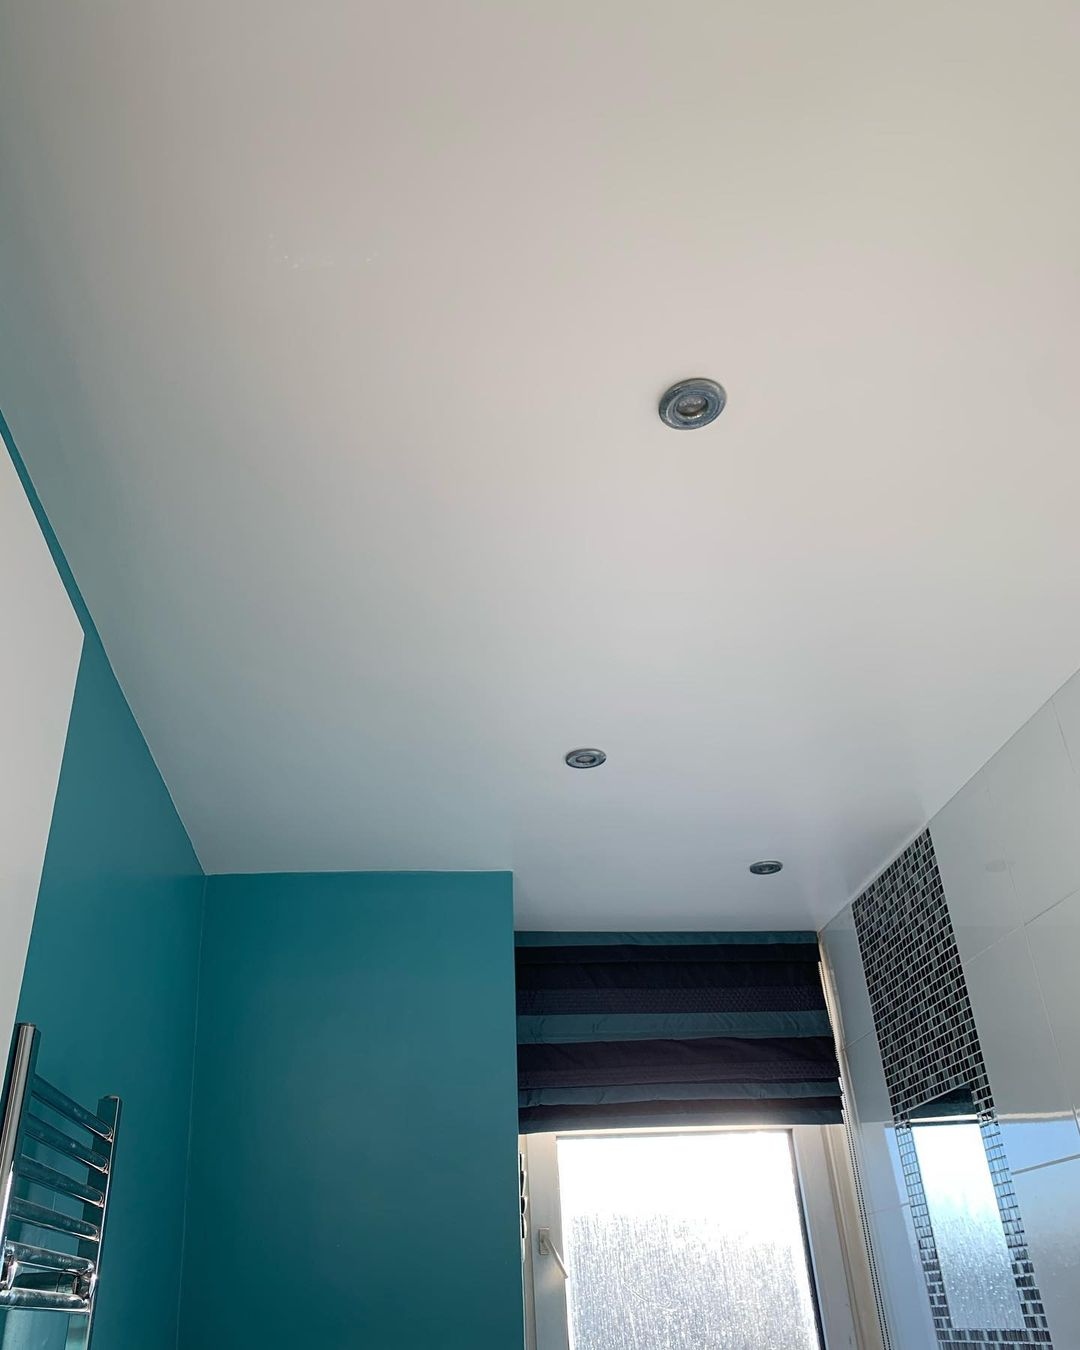
What Kind of Paint for Bathroom Ceiling Do You Need?
When choosing paint for a bathroom ceiling, it’s important to pick a product that will be both durable and water-resistant.
In most cases, latex paint is a good choice for ceilings in bathrooms, as it is both moisture-resistant and easy to clean.
However, if you are looking for a more durable finish, you may want to consider using enamel paint instead.
Enamel paint is more resistant to scratches and wear, making it a good choice for areas that see a lot of traffic.
Keep in mind that enamel paint can be more difficult to work with, so it’s important to read the directions carefully before beginning your project.
Another option of paint for a bathroom ceiling is an eggshell or semi-gloss paint, as these finishes resist moisture and mildew growth.
Bathrooms can be humid and steamy places, so it’s important to choose a paint that can withstand these conditions.
Eggshell and semi-gloss paints also wipe down easily, making them ideal for ceilings that may need to be cleaned from time to time.
If you’re painting a bathroom ceiling for the first time, or if the ceiling is in bad condition, it’s also a good idea to use a primer.
This will help the paint adhere better and will also make sure that the final color is even. Finally, make sure that you have good ventilation in the bathroom while you’re painting.
The fumes from the paint can be overwhelming, so open windows and doors to let fresh air in.
How to Prepare Bathroom for Painting
Prepping your bathroom ceiling for painting is a vital step to ensuring a professional and long-lasting finish.
Whether you’re planning to repaint your entire bathroom or just touch up a few areas, taking the time to prep the ceiling will pay off in the end.
One of the most important steps in preparing a bathroom ceiling for painting is to clean it thoroughly. This includes removing any fixtures or items that may be in the way, and cleaning the surface so that the paint will stick.
To remove fixtures, use a screwdriver to remove the screws that hold them in place. Any dirt, dust, or residue on the surface of the ceiling will show through once paint is applied, so it’s important to start with a clean slate.
Use a mild soap and water solution to wash the ceiling, being careful not to damage any surfaces in the process.
Once the ceiling is clean and dry, you can move on to the next step in prepping your bathroom ceiling for painting.
Next, you’ll need to fill any holes or cracks in the ceiling surface. This can be done with a variety of different materials, but we recommend using spackle or joint compound for the best results.
Apply the chosen material to the hole or crack, being sure to smooth it out evenly as you go. Once all holes and cracks have been filled, allow the material to dry completely before proceeding.
Now it’s time to prime the ceiling surface. Priming ensures better paint adhesion and helps to create an even surface for painting.
Be sure to use a high-quality primer specifically designed for bathroom ceilings; this will help ensure optimal results.
Apply the primer evenly across the entire surface of the ceiling, being sure to follow the manufacturer’s instructions for the best results.
Once the primer has been applied, allow it to dry completely before proceeding. Finally, it’s time to paint the bathroom ceiling!
Be sure to use a paint specifically designed for bathroom ceilings; this will help ensure optimal results and a lasting finish.
With these simple steps, you can prep your bathroom ceiling for painting like a pro! Taking the time to properly prep your surface will pay off in the end, resulting in a professional-looking finish that will last for years to come.
How to Paint a Bathroom Ceiling
The easiest way to paint a ceiling is by using a paint roller. First, you will need to apply a primer to the ceiling.
To paint a bathroom ceiling, start by taping off the edges of the ceiling with painter’s tape. Once the primer is dry, you can then start painting the ceiling with the paint roller.
You will need an extension pole to reach the ceiling, and a ladder if the ceiling is high. Start by painting the edges of the ceiling with a brush, then roll on the paint.
Make sure to overlap each stroke so that there are no visible brush strokes. Once you have finished painting the edges, fill in the rest of the ceiling with paint, working from the middle outwards.
Be sure to use a drop cloth or plastic sheeting to protect your floor from paint drips. Let the paint dry before removing the tape.
Allow the paint to dry completely before adding any type of finish or sealer. A semi-gloss or high-gloss finish will help to protect the paint and make it easier to clean.
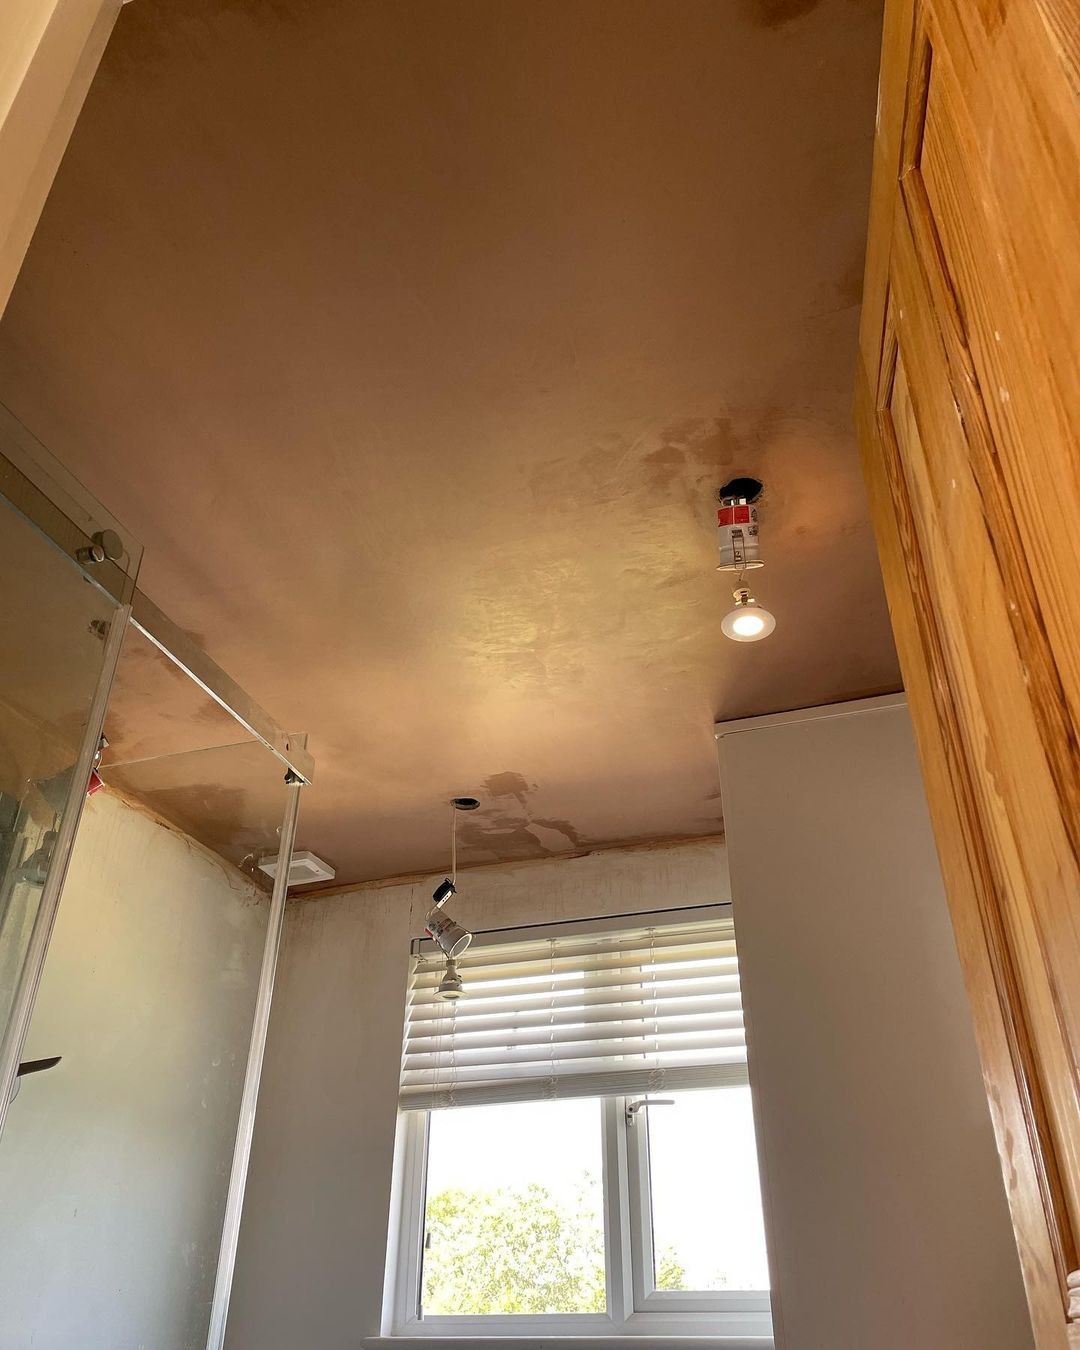
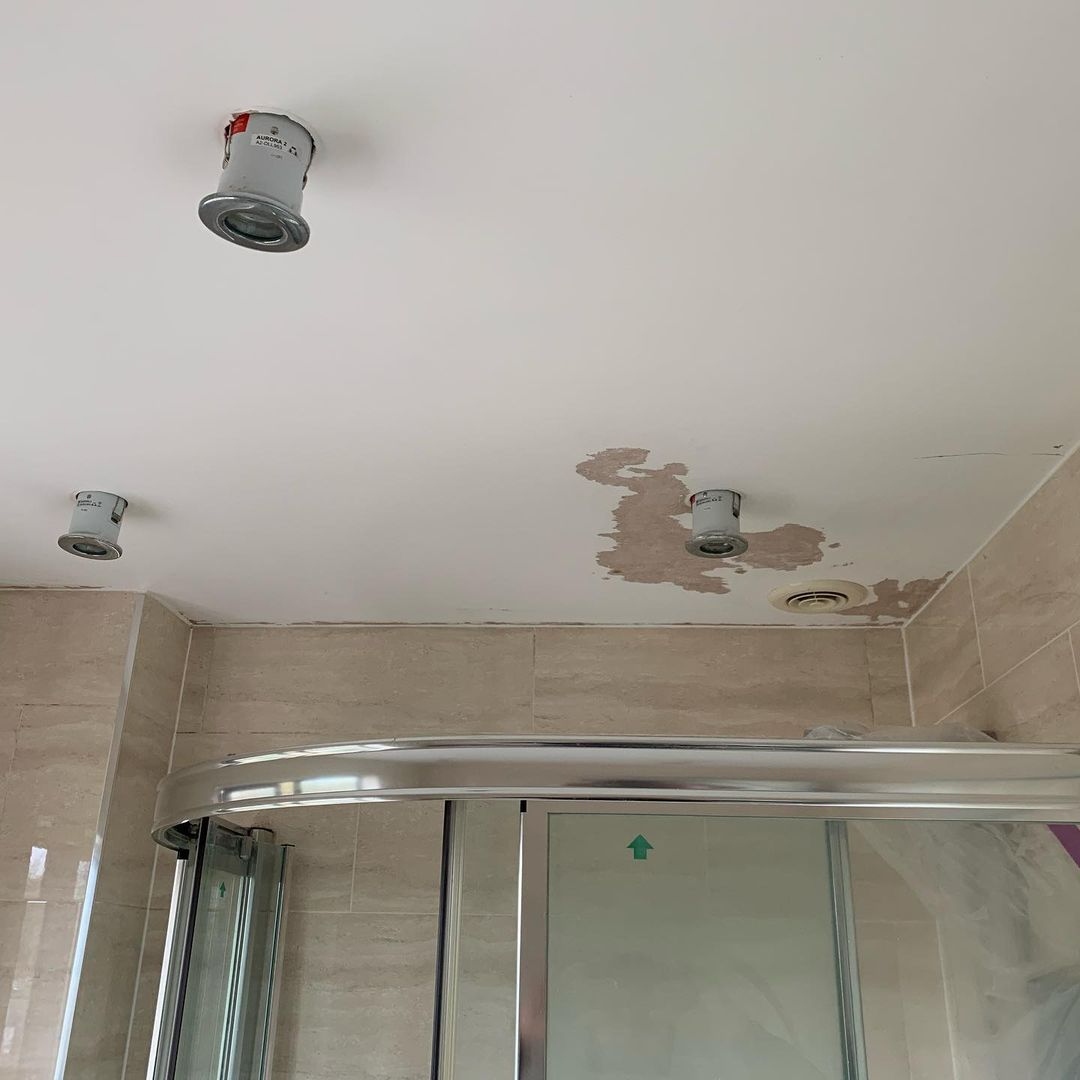
Why is Paint Peeling on Bathroom Ceiling?
There are a few reasons why paint may peel on a bathroom ceiling. One reason could be because the surface was not properly cleaned or primed before painting.
Another reason could be because the paint used was not meant for use in humid bathrooms. The bathroom ceiling may be peeling because of the moisture and high humidity in the room.
Bathrooms are a common place for mold and mildew to form, and this can cause paint to peel. When paint gets old, it can also start to peel.
If you see paint peeling on your bathroom ceiling, it is important to have it repaired as soon as possible to prevent further damage.
There are a few different ways that you can repair peeling paint on your bathroom ceiling. One option is to sand down the area and then repaint it.
This will help to smooth out any rough edges and give the paint a fresh start. Another option is to use a primer before painting.
This also helps to seal the area and prevent future peeling. If the paint is severely damaged, you may need to replace the entire section of ceiling.
This is a more involved repair, but it will ensure that your bathroom ceiling looks its best. Peeling paint can be a nuisance, but it is important to take care of it right away.
By taking the time to repair the damage, you can prevent further issues and keep your bathroom looking its best.
Do You Paint the Ceiling First or Last?
You should paint the ceiling first, before you paint the walls. This will help to avoid having to tape off the ceiling while you’re painting the walls, and it will also help to prevent any paint from dripping onto the floor.
It prevents mess because you won’t have to worry about any paint dripping from the ceiling onto the floor or on your newly painted walls.
If you’re painting a room with multiple colors, you should also paint the ceiling first. This will help to ensure that all of the colors remain consistent and cohesive throughout the space.
So there you have it! The next time you’re getting ready to tackle a painting project, remember to start with the ceiling first and work your way down.
This order will help you avoid any unnecessary clean-up and will make your painting project go more smoothly overall. It’ll save you time and hassle in the long run!
FAQ
Do I need special paint for bathroom ceiling?
A lot of people are inclined to go for the cheaper, more quickly painted flat white color. However, doing this means you will have to repaint much sooner as it is not durable against moisture or mildew in the bathroom setting.
The best paint therefore that you can pick for your bathroom ceilings would be a satin or semi-gloss finish which better resists such things.
Paints that contain anti-mold agents prevent the growth of fungi. You can make any paint fungus-resistant by adding a specialized product to it.
Because bathrooms and toilets have high levels of moisture, they should be given this kind of treatment.
Do I need to prime bathroom ceiling?
In most cases, you won’t need to prime your ceiling before painting it since ceiling paint is usually a mix of primer and paint.
The only time you would need to use primer is if the stain on the ceiling is very dark or pronounced. In this case, apply one coat of good-quality primer that’s compatible with oil-based paints (if that’s what you’ll be using).
How do you paint a bathroom ceiling without making a mess?
Use slow, consistent pressure and strokes when rolling the paint onto the ceiling. Going too hard will cause splattering, while going too fast will likely lead to an uneven application. Using straight lines rather than a random pattern will give you better results overall.
Should a ceiling be washed before painting?
Yes, it’s always best to clean the surface before painting. This will help the paint adhere better and give you a more even finish.
For ceilings, use a damp sponge or cloth to remove any cobwebs or dust. If there are any stains, you can pre-treat them with a cleaning solution designed for removing smoke, grease or other tough stains. Be sure to rinse the area afterwards and let it dry completely before painting.
Summary
Painting a bathroom ceiling can be a daunting task, but with the right tools and instructions, it can be done easily and efficiently.
By following our simple steps, you can prep your bathroom ceiling for painting like a pro and achieve a beautiful, long-lasting finish.
The most important step in prepping a bathroom ceiling for painting is to clean it thoroughly. Next, you’ll need to fill any holes or cracks in the ceiling surface.
Finally, it’s time to paint the bathroom ceiling! Be sure to use paint specifically designed for bathroom ceilings; this will help ensure optimal results and a lasting finish.
Taking the time to properly clean, repair, and prime the surface will pay off in the end, resulting in a professional-looking finish that will last for years to come.
Also read:

Born and raised in California, Yvonne has always been interested in fashion and home decor. After getting her degree in fashion management, she started her own home decor blog, where she shares her tips and tricks for creating a stylish home on a budget.